General Settings
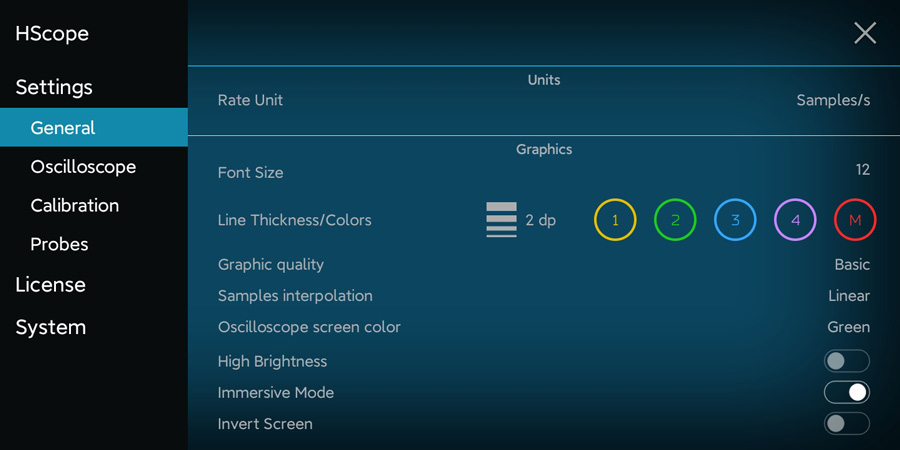
In the General Settings you can see your device information.
Units
You can change the rate unit in the menu to show Samples/s or Bw (Bandwidth). The 2 units are equivalent.
Font Size, Line Thickness/Color
They change the graph and data aspect.
Graphic Quality
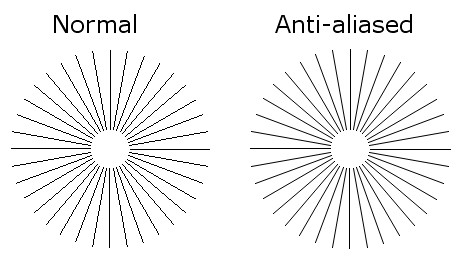
You can enable Antialiasing for the lines of the signal. Anti-aliasing is a method by which you can eliminate jaggies that appear in graph lines.
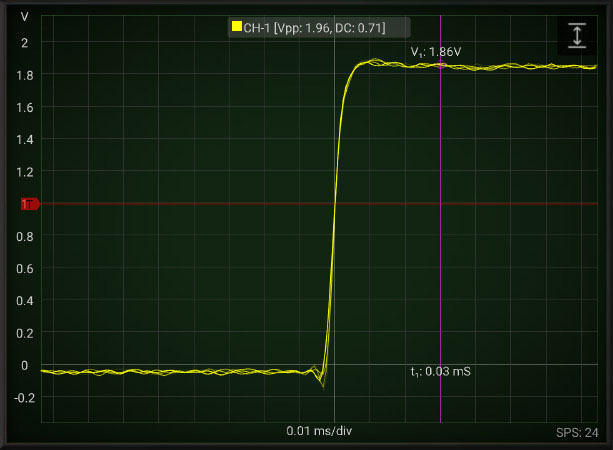
You can also enable the Phosphor effect which keep drawn the old signal patter on the screen for a certain time, like in the old oscilloscopes. With this effect you may see better the signal fast variations (eg. noise).
Samples Interpolation
When the Scope acquire a signal we receive just samples but we don’t know what’s the signal shape between the samples. We can just connect the dots (Linear Interpolation) or better we can reconstruct the original signal according the Whittaker–Shannon formula (Sinc Interpolation).
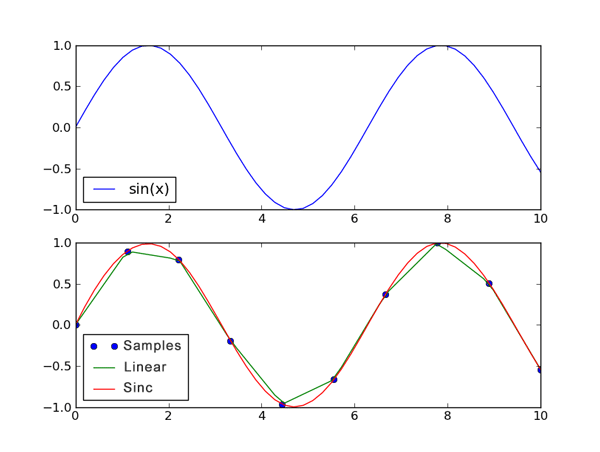
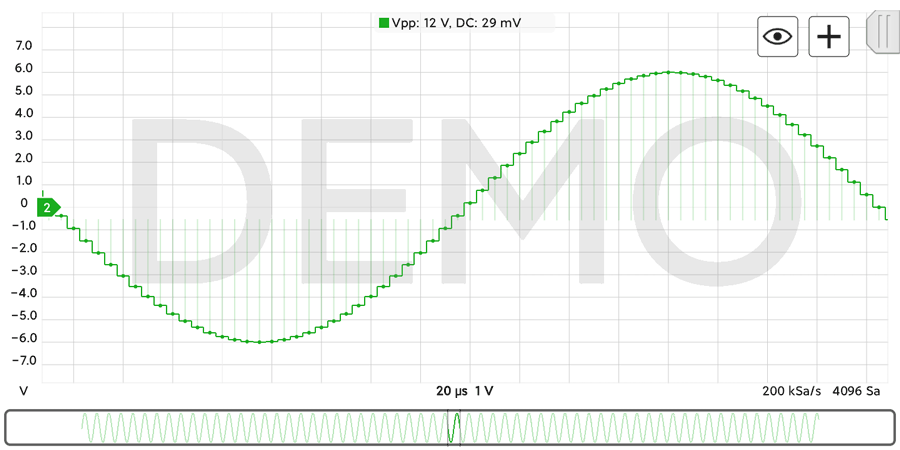
Step Interpolation is generally used for digital signal, it shows one horizontal line for each sample.
High Brightness
Keep the screen at full brightness when using the app.
Immersive Mode
Allow the app to run in full-screen mode.
Invert Screen
Invert the screen visualizzation to be more convenient according the position of the USB cable on the Android device.
Alert Sound
Set the type of sound used for alerts (used in alarmed cursors to advice that the signal passed a certain threshold).
FPS/SPS
Enabling this option it is possible to know how many acquisitions are currently taken by the Scope (SPS: Scans Per Second) and how many time the screen is refreshed (FPS: Frame Per Second). This number may vary from device and rate settings.
Send anonymous usage statistics
It send to HScope website information about your phone model when successfully connect to an oscilloscope. In this way it is possible for all other users to know what phone model has been successfully tested to work with USB oscilloscopes. List of working phone models is available here.